Low carb is all the craze right now and I’m guilty of following the way of eating as well! Making sure you get your proper intake of fat is key to a successful low carb journey! It helps keep you full longer and helps aiding in the weight loss! Some days I don’t get enough fats and then cues the fat bombs! 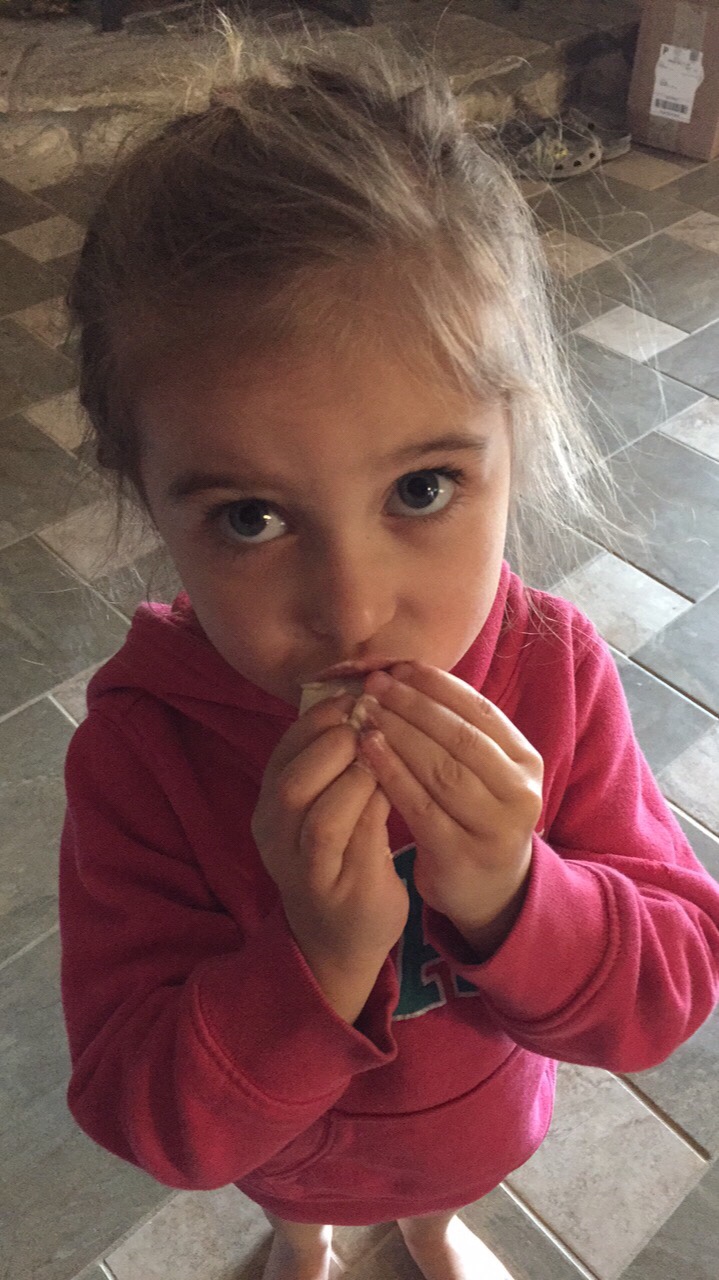 (Photo of my daughter stealing my fat bomb)I’ve had a few people ask me about my low carb peanut butter fat bombs, so I thought I’d share the recipe!These things have just the right amount of sweetness to kick that those cravings! They’re super yummy and super simple to make! So… let’s get started! Start with 4 oz of softened cream cheese.Put it in a mixing bowl and beat for a minute or so.Add 1/2 cup of peanut butter, 1 tsp of stevia or other sugar substitute, and 1/4 cup of melted coconut oil. Beat the mixture together for a few minutes until everything is incorporated, scraping down the sides of the bowl if needed. Add about 1/4 cup of heavy whipping cream and beat until the mixture is fluffy. Scoop into silicone cupcake liners or silicone molds and pop into the freezer until frozen. Keep in the freezer and sit one out for a minute or so before eating. Allowing the fat bombs to soften just a tad is key to yummy creamy-ness. I store mine in the cupcake liners in a freezer ziplock gallon bag. These are my favorite fat bombs! Chocolate coconut peanut butter fat bombs are a close 2nd! Stay tuned for the recipe to follow!
Low carb peanut butter cheesecake fat bombs


 We then melted butter and brushed each roll with butter top and bottom. Sprinkle with a cinnamon sugar mixture and roll to coat. Make sure there is enough space between each roll bc they do expand.
  You will come to learn that I am terrible at measuring! I eyeball everything! I would say one teaspoon of cinnamon to 1/4 cup of sugar is good. Bake at 350* for 10-12 minutes until golden brown and firm to the touch.


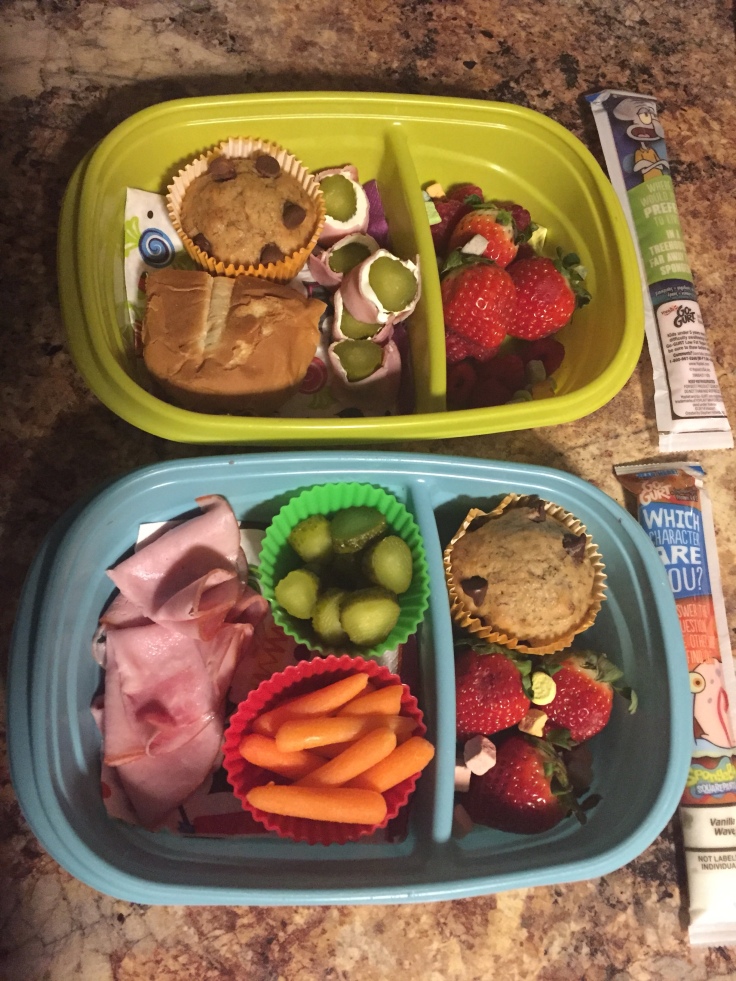
 One of the boys’ favorite lunches are homemade personal pizzas. They don’t mind them not being warm, think, pizza lunchables aren’t warmed up. Big brother has told me he asks the lunch helper to warm his and he’s had no problem with that. Little bro just eats his as is. No patience for waiting with this one. 😂

 The boys both love salad and I’ve found that salad stays pretty well in their lunches. The dressing goes in the reusable baby food pouches that I found at Walmart a few years back. They’re so easy to fill and also super easy to clean.
 Hellloooo everyone!!


 I’d like to take a second to introduce myself! My name is Kaitlyn. I am wife to a wonderful, hard working husband, and a momma to 3 wild, crazy, fun loving children. I have 7 & 5 year old boys and a 3 year old daughter! Most of my time is spent tending to their needs, I’m sure all you mommas get me! I’m currently writing this with the daughter crawling all over my lap. You’ll get used to that. So, sorry if my writing isn’t perfectly proofread! I’m only human you know 😉.
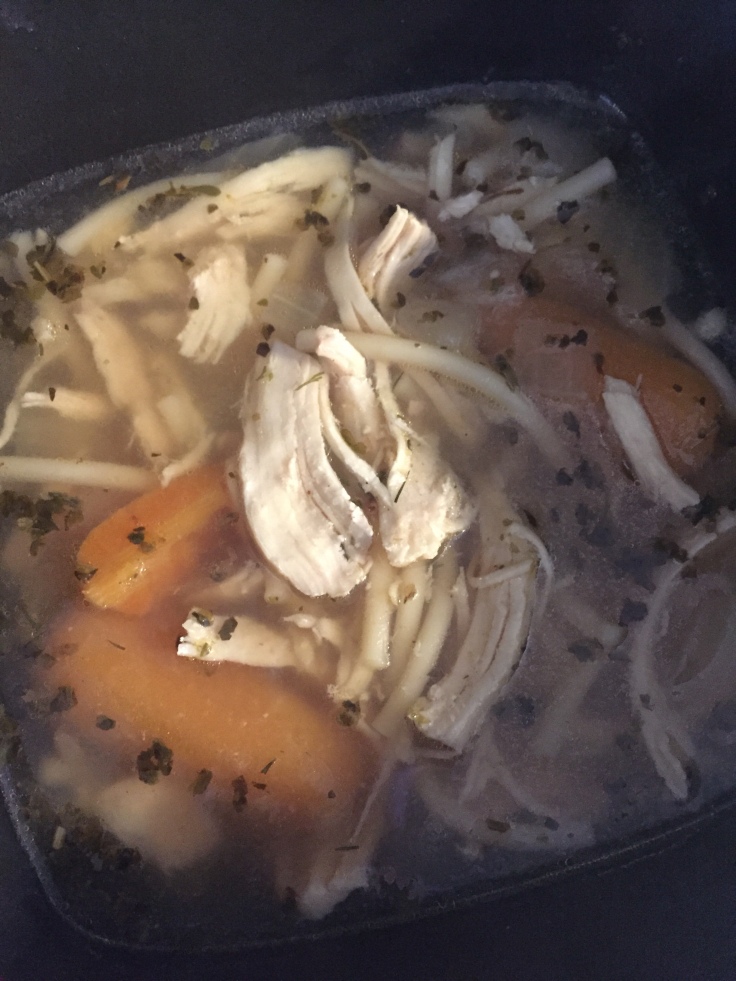
  So what is it that I’ll be sharing on my blog you ask? Just about a little bit of everything! A few of my favorite things will be recipes, makeup tips, and frugality. I find great pleasure in saving my family money. Today I want to talk a little bit about myself and what I enjoy, and don’t so much enjoy. Well, to start, I don’t enjoy the FLU! Not one single bit! But, I know all of you can agree with me! My husband and I have been trying so hard to get our kids on board with handwashing and how it prevents the spread of germs, etc etc. Sometimes no matter how much hand washing goes on there is no stopping the awful dreaded flu virus! And that’s exactly how I bring you to the story of, 4 out of 5 of us contracted the flu! It was super aggressive and symptoms lingering for days!!Guess which one of us didn’t get the flu! Yep, you guessed it, mother dearest! Soooo, what have I gotten to do for 5 days now?! Take care of the sicklings every want and need. From running to get more Gatorade, to cleaning up vomit, to feeding and praying they can keep down the little bit of chicken noodle soup they consumed.
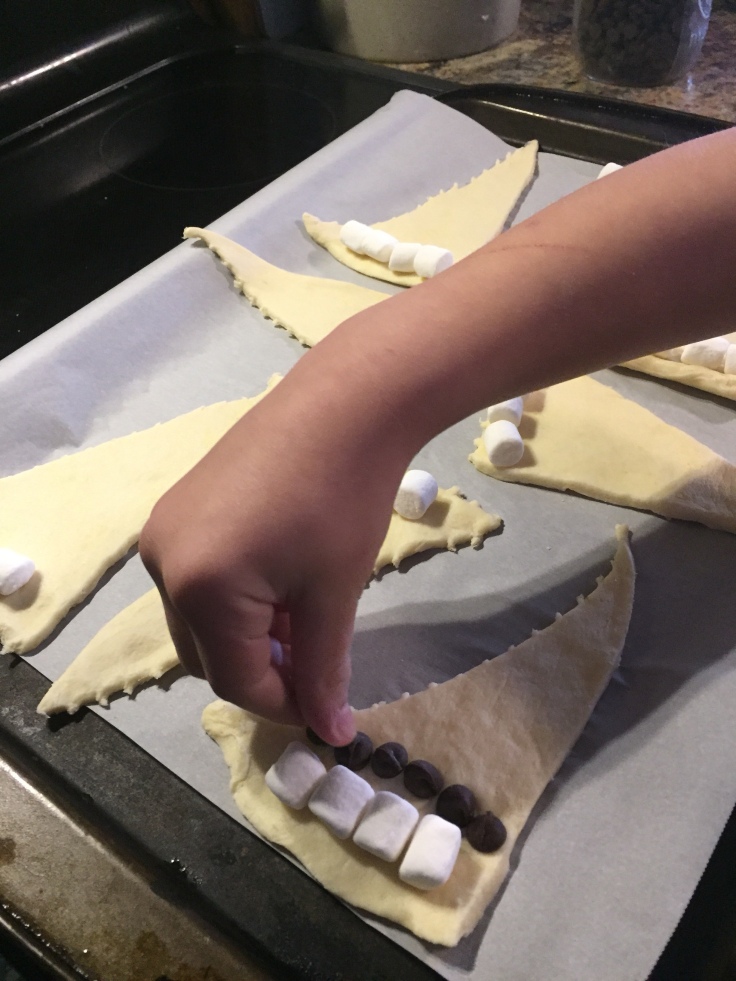
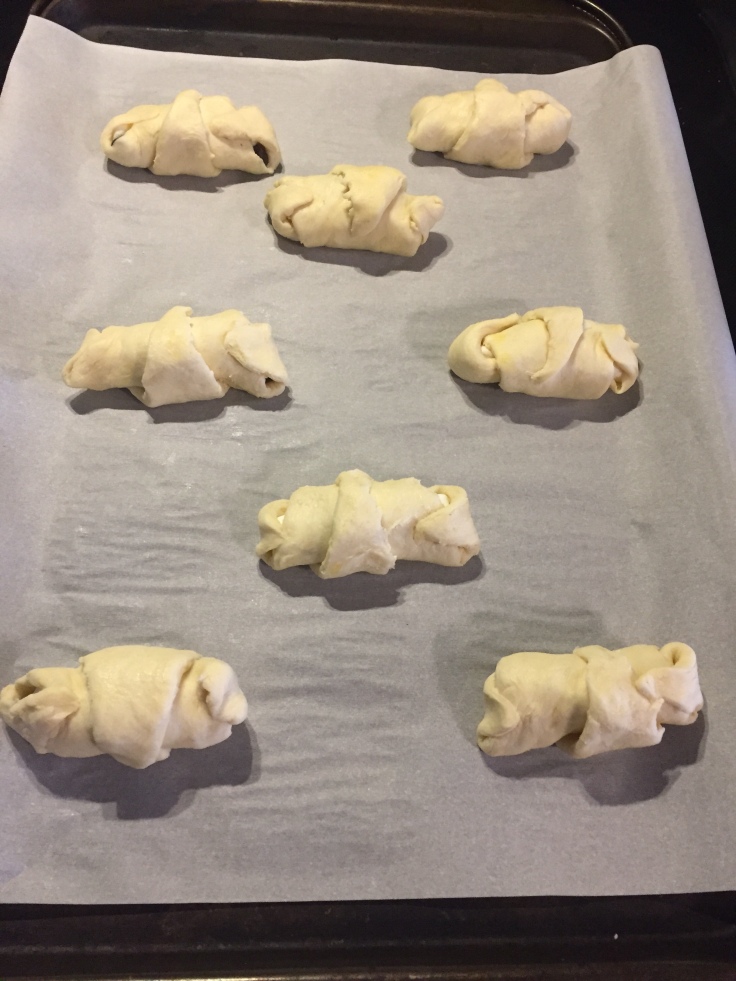
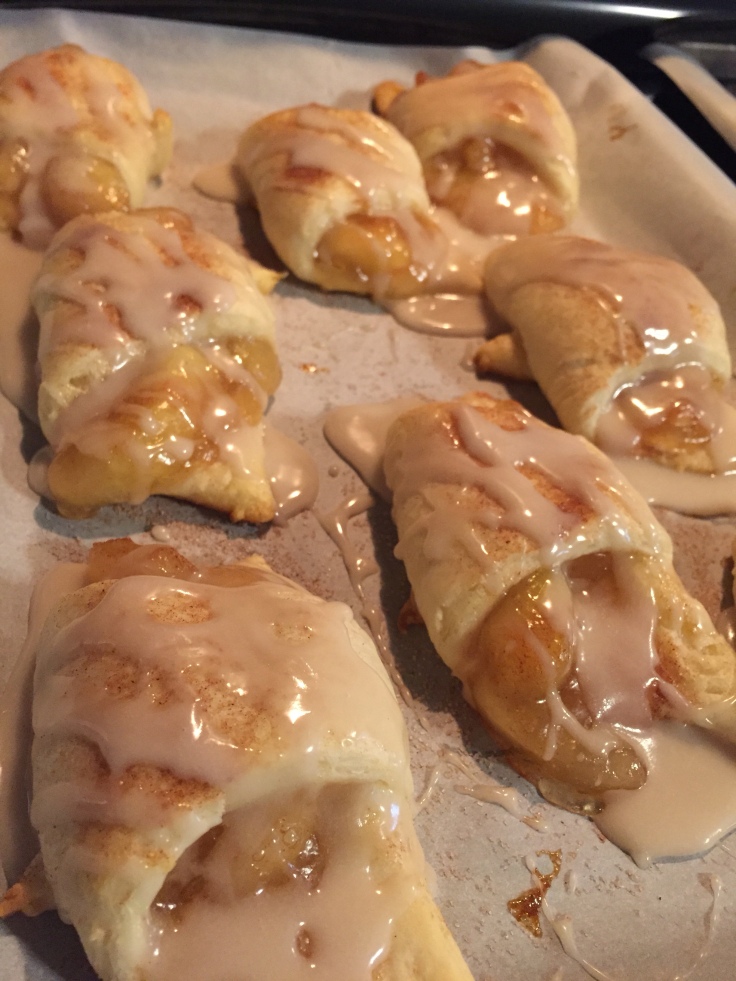
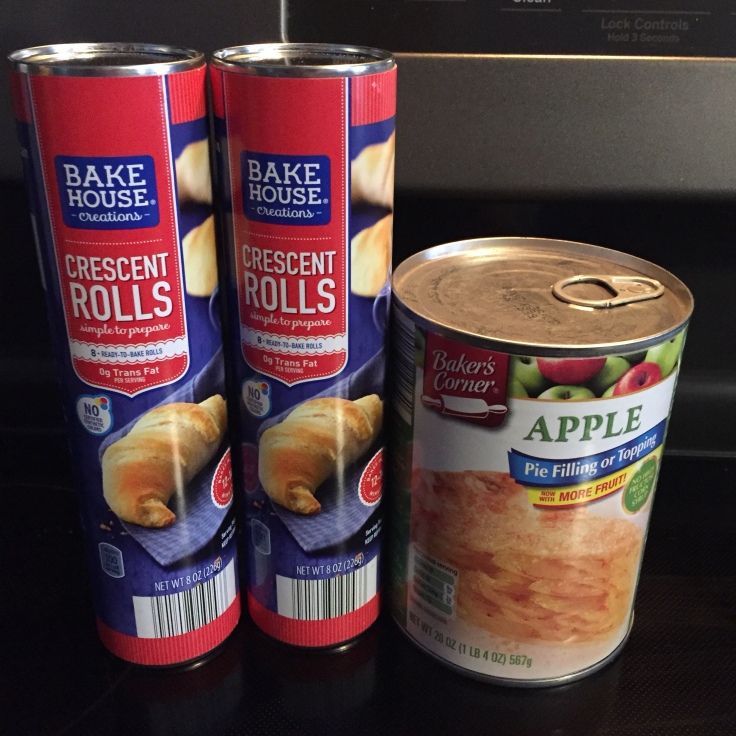
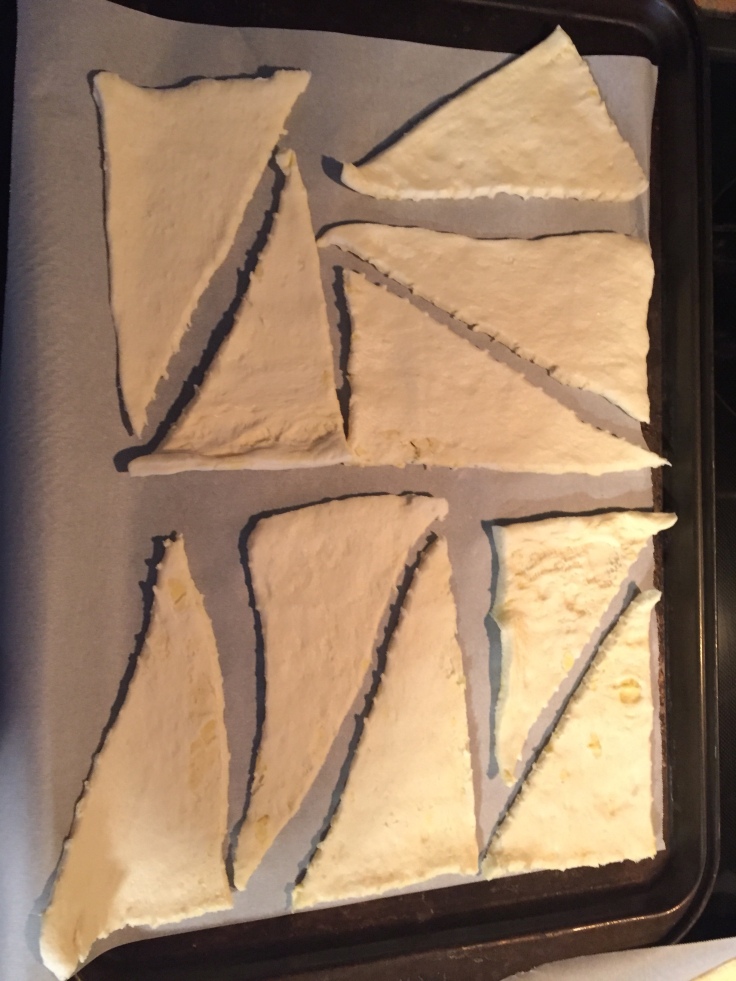
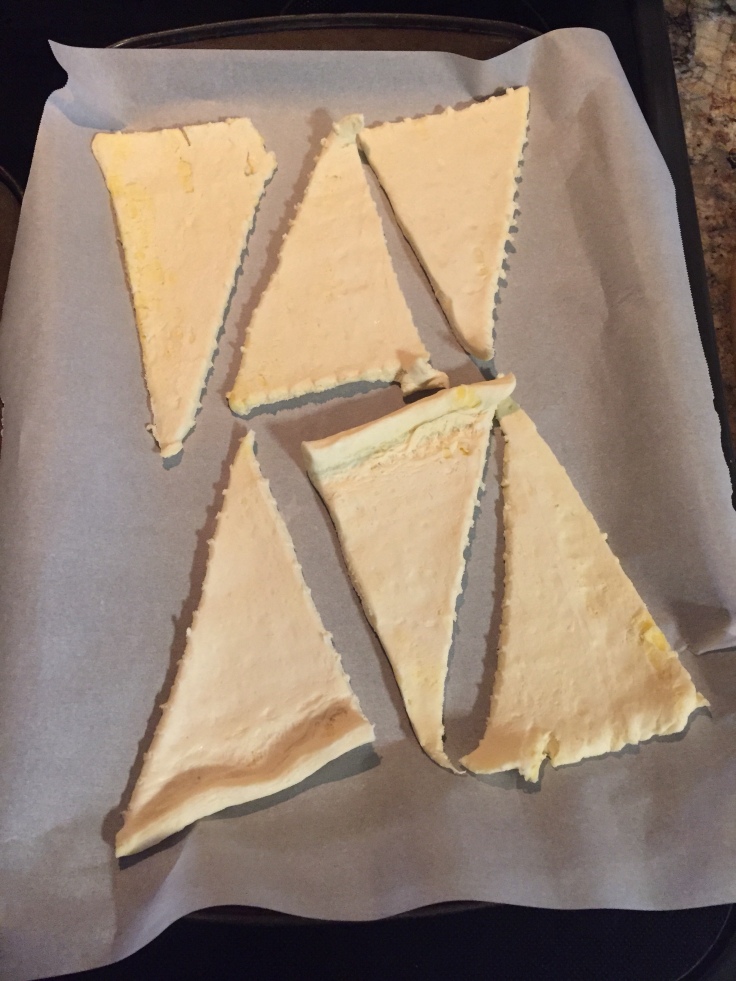
 Quick Apple pie turnovers (Sneak peak of our latest kid tested recipe, tutorial to come at a later date)